Is It Safe To Use Straw A Mulch In The Garden
Straw has many uses in vegetable and flower gardens. You might think of it as a mulch (and to be sure, that use tops the list), but there are many other ways to use straw in gardening. Those ways are worth knowing, too, because often a single bale of straw can be reused several times.
The beauty of straw is that it is 100% usable in the garden (even the strings can find new upcycled life). Its multi-purpose uses and recyclability make straw a very good investment for its relatively small cost.
How can you use straw in the garden?
- Quick and Easy Cold Frame
- Budget-friendly Straw Bale Benches
- Super-Simple Compost Bin
- Compost Component
- Soil Amendment
- Garden Paths and Walkways
- Mulch
- Straw Bale Gardening
- Improve Seed Germination
- No-Till Gardening
- Hill Potatoes
- Reduce Heat in Peppers
- Plant Protection
- Disease Control and Soil Splash
- Cover Crop and Seed Protection
- Erosion Control
- Insulate Over-Winter Crops
- Winter Crop Storage
- Recycle Strings
Jump to:
- What Is Straw?
- Build a Quick and Easy Cold Frame from Straw Bales
- Build Garden Party Benches with Straw Bales
- Construct a Super-Simple Compost Bin with Straw Bales
- Straw as a Compost Component
- Straw for Soil Amendment
- Using Straw for Mulch
- Straw Garden Paths and Walkways
- Straw Bale Gardening
- Use Straw to Improve Seed Germination
- Using Straw for No-Till Gardening
- Hill Potatoes with Straw
- Use Straw to Keep Sweet Peppers Sweet
- Straw as Plant Protection
- Disease Control and Soil Splash
- Cover Crop and Seed Protection
- Straw for Erosion Control
- Insulate Over-Winter Crops with Straw
- Store Vegetables and Produce in Straw
- Straw Strings
- Buying Tips and Sourcing Straw
- Don't Forget to Reuse your Straw!
What Is Straw?
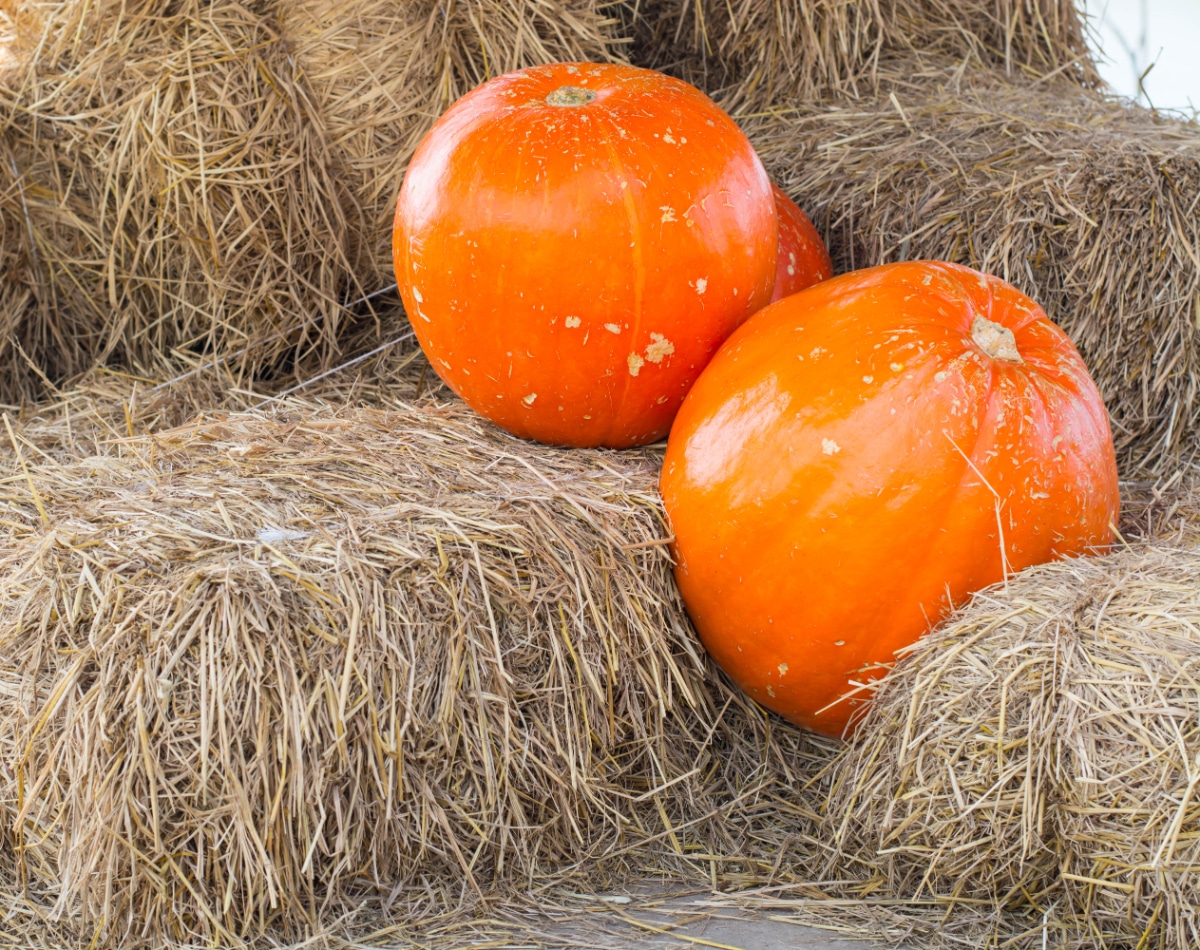
Straw is not hay. Hay is one or more types of grass that are cut and dried for use as animal feed. It contains seeds and seed heads.
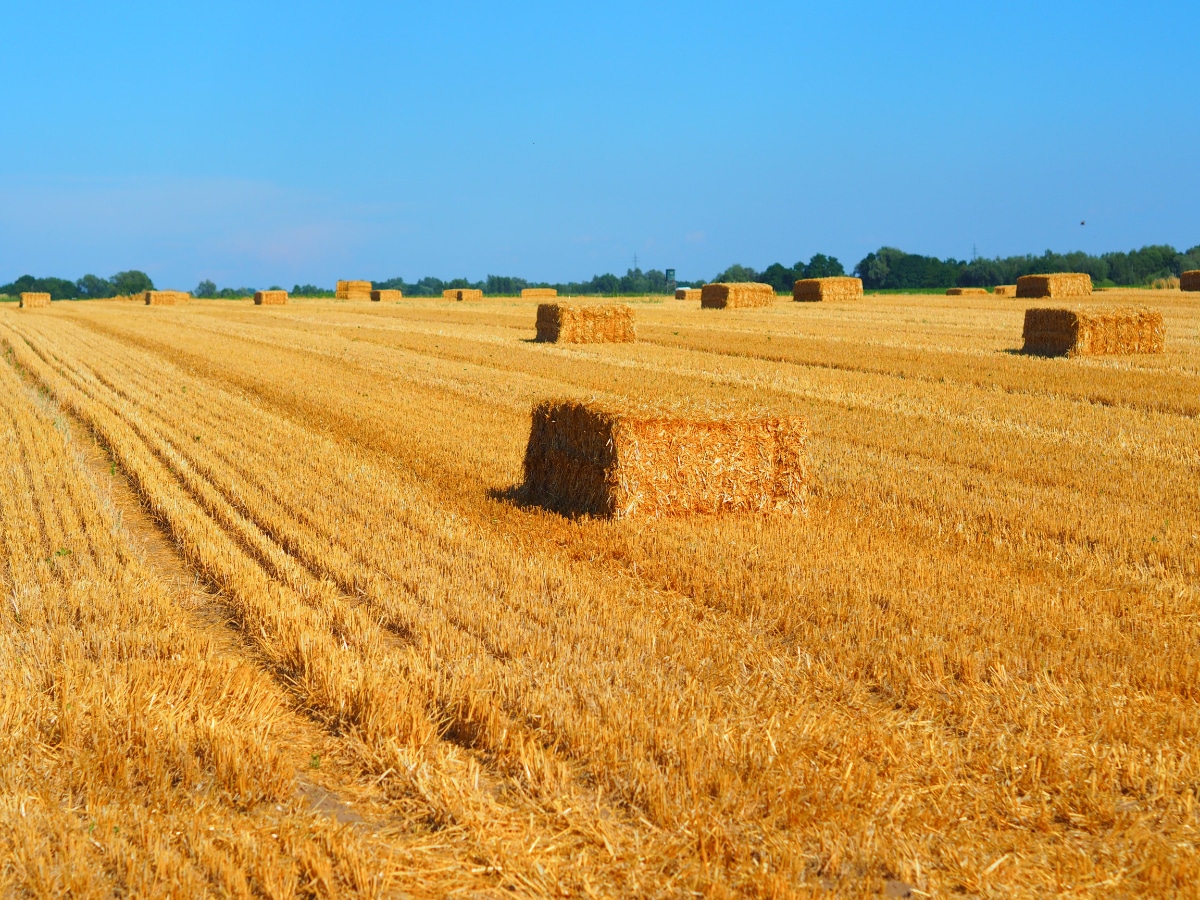
Straw is a byproduct of grain production and is the stem of the grain plant that is left behind after mowing and threshing. The grain is the seed of the plant—the crop that the farmer is harvesting—and so straw does not contain seed as a rule (although a small amount of seed may be left, it is minimal and easy to deal with). Straw is simply what is left behind from the threshing of grains like oats, barley, and wheat.
While some gardeners do use hay for many of the uses discussed here, straw is a much better choice, primarily because it does not contain significant amounts of seed but also because it makes good use of a natural byproduct material instead of using a valuable feed product that has better uses elsewhere.
So, what are some great ways to use straw in the garden? Let's take a look.
Build a Quick and Easy Cold Frame from Straw Bales
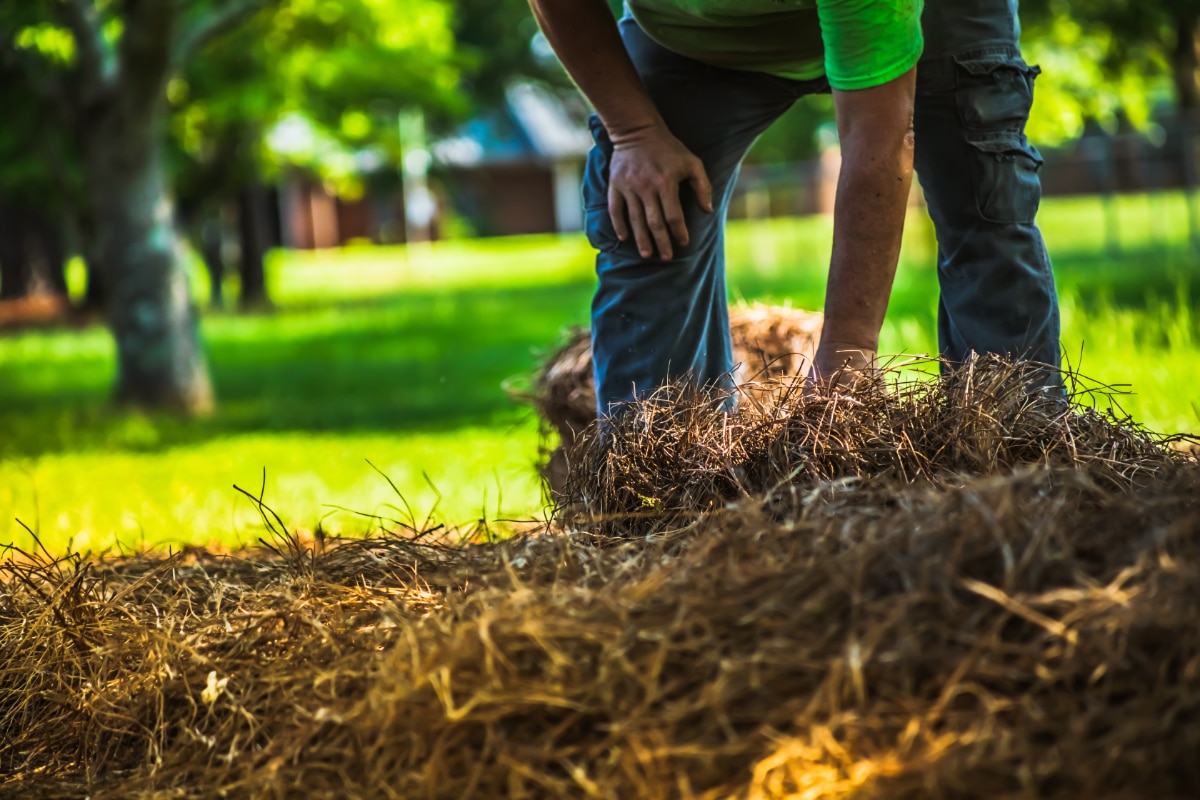
If you are not familiar with what a cold frame is, it could best be described as a sort of mini-greenhouse. A cold frame is typically not heated, though a good layer of fresh manure in the bottom will give off some heat as it decomposes. Manure is not necessary to use a cold frame, though.
Cold frames are useful for growing transplants and hardier seedlings like broccoli, cauliflower, kale, greens, and other brassicas. They are also very useful for hardening off transplants before they are ready to be transplanted into the garden. Cold frames make great season extenders, too, making good homes for cutting greens and salad greens early and late in the garden season.
It's easy to make a cold frame from straw bales. You'll need enough bales to make an enclosed "frame" and something to serve as a top. Old windows are ideal, but a large piece of cut Plexiglas or even an old storm door will work, too. Ideally, the older the glass the better because it is less likely to be UV protected, as is the case with most modern doors and windows. Cut Plexiglas can be purchased through local glass and window suppliers. Window replacement professionals are also a good source for old windows because they often have windows available that they need to dispose of anyway.
Six straw bales will make a good-sized cold frame and tend to work well with many standard windows and doors. That said, the beauty of the straw bale cold frame is its flexibility and you can use as many or as few bales as it takes to fit your top.
Place two bales end-to-end on each side and one bale on each end. The bales need to touch and form a completely closed rectangle from the inside perimeter.
Lay the windows across the tops of the bales, bridging the gap and completely covering the open space.
Note that it can get very warm in a closed cold frame just from the strength of the sun. You may need to pull the windows apart a bit or remove them completely to provide enough ventilation and cooling on strong, sunny days. Close the frame again at night to maintain warmth and protect the young seedlings from cold temperatures.
On cold nights at or below freezing, for additional insulation, break open another straw bale and lay whole sections atop the glass. It is best to do this at the end of the day while the sun is still out to hold in the warmth of the day. Straw bales and sections provide a lot of insulation and can keep your cold frame plants quite warm, but you should do a little research to see just how low of a temperature your plant can tolerate, and if the temperature will dip too low, bring the plants inside for the night. The temperature inside the cold frame, especially with the top layered and insulated, should stay several degrees above air temperature.
When you are done using your straw bale cold frame for the season, recycle the bales for another garden use.
Build Garden Party Benches with Straw Bales
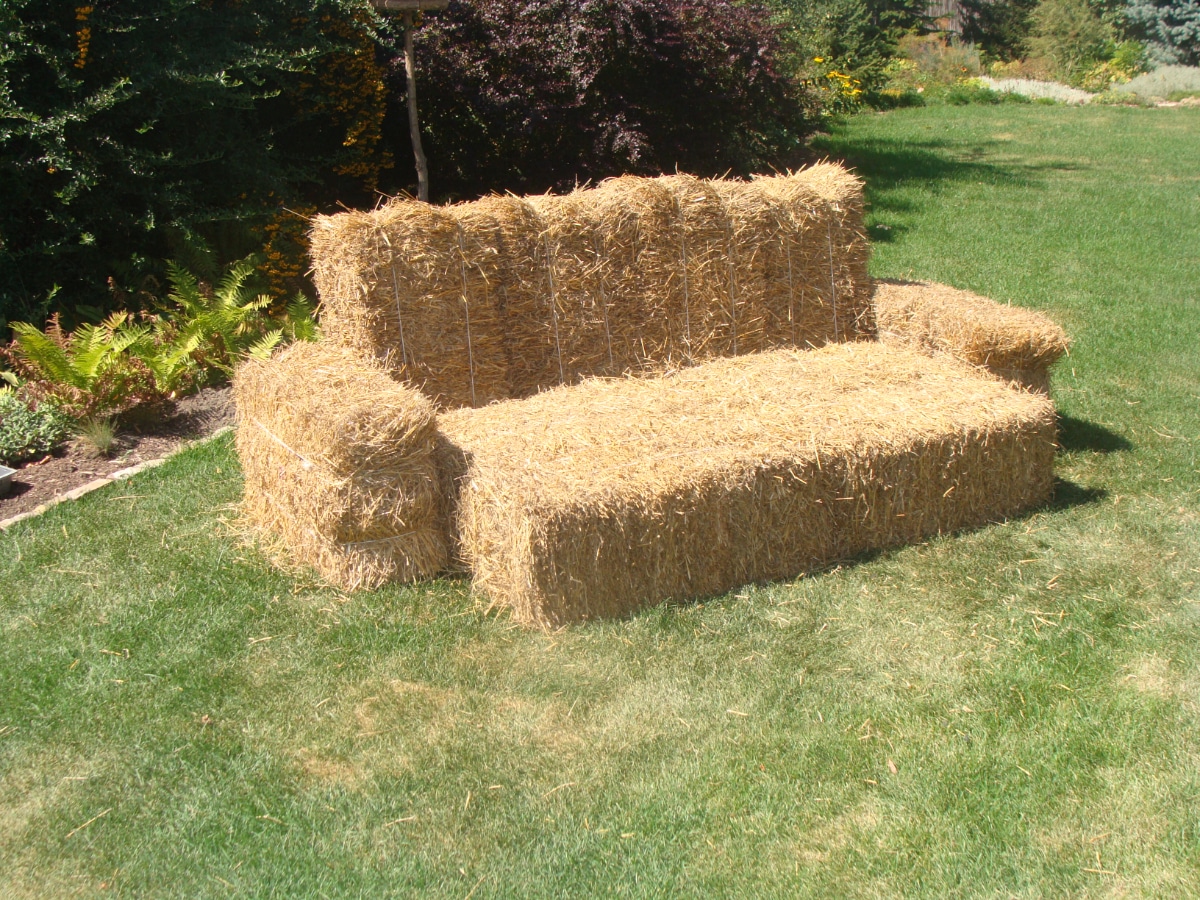
In need of some fun and festive, last-minute, budget-friendly benches? Straw bales are your answer.
Throw a blanket over a bale, and you have seating for two. Stretch a sturdy board across two or three bales, and you have seating for several. Repeat for as many seats as you need to seat your crowd.
And when the party is over? There are so many places you can put those bale benches to use in the yard and garden!
Construct a Super-Simple Compost Bin with Straw Bales
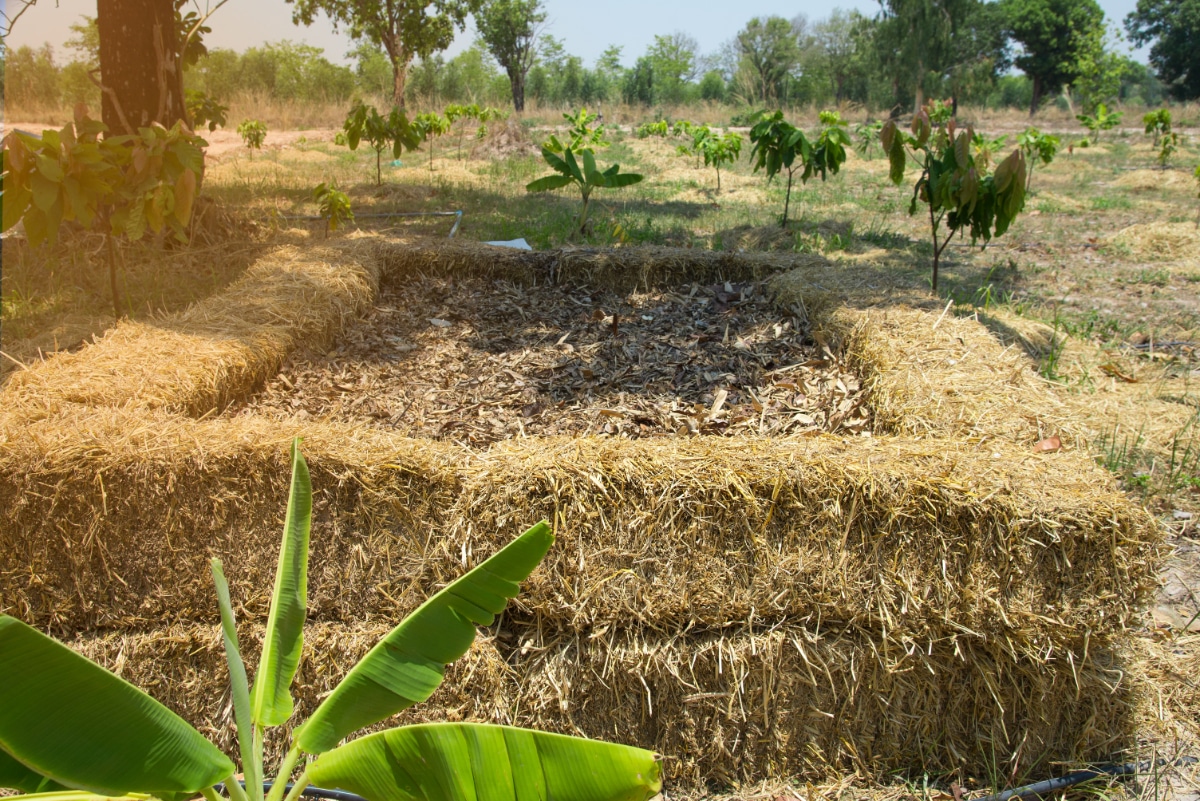
Similar to straw bale cold frame construction, whole straw bales can be used to build a simple compost bin—one whose sides can be used in the compost when they decompose and start to fall apart.
Your straw bale compost bin can be almost any size you want to make it. Plan for enough bales to make the bin one or two bales high (your choice) and as wide and long as you would like the bin to be. It can be as small as one bale by one bale, though you will probably be happier with a bin that its at least two bales in width on all sides. This is often determined by the amount of material available to you to put into your compost bin. The real beauty of this cheap and easy bin, though, is that if you find you built it too small, it's very simple to add on!
To build a compost bin out of straw bales, make a three-sided square or rectangle by placing and/or stacking the straw bales to the desired size. The opening should be to the front for easy access for loading, turning, and unloading.
If you will be stacking bales for a taller compost bin, it is best to stagger and offset the bales (the middle of the second bale should straddle the seam where the two beneath it come together— like the way bricks are stacked). This will make the stack more stable. Bales can be placed with the strings up or the cut ends up, though strings-up is a bit more stable and also tends to last longer, as strings-up sheds water and weather a little better. Two or three bales high makes a pretty stable stack; you will not want to go much higher than that. If you need a larger area than two or three bales high, it is better to lengthen the "bin".
To use your bin, follow advice for regular compost bin management. This is basically a process of layering "brown" (carbon-based materials such as sawdust, cardboard, shredded newspapers or straw, etc.) and "green" (food and grass clippings, manure, etc.) materials that are then left to decompose, and turned until they become beautiful, dark soil amendment.
When your compost bin "walls" are no longer firm and begin to fall apart, replace them and reuse the old bales for something else in the garden, or turn the old bales back into your compost heap. A third option, if the compost contents are ready, is to plant large plants like pumpkins, squash, or cucumbers directly on your compost heap and break the old bale open onto the pile for use as mulch. After the growing season, this compost can still be used elsewhere.
Straw as a Compost Component
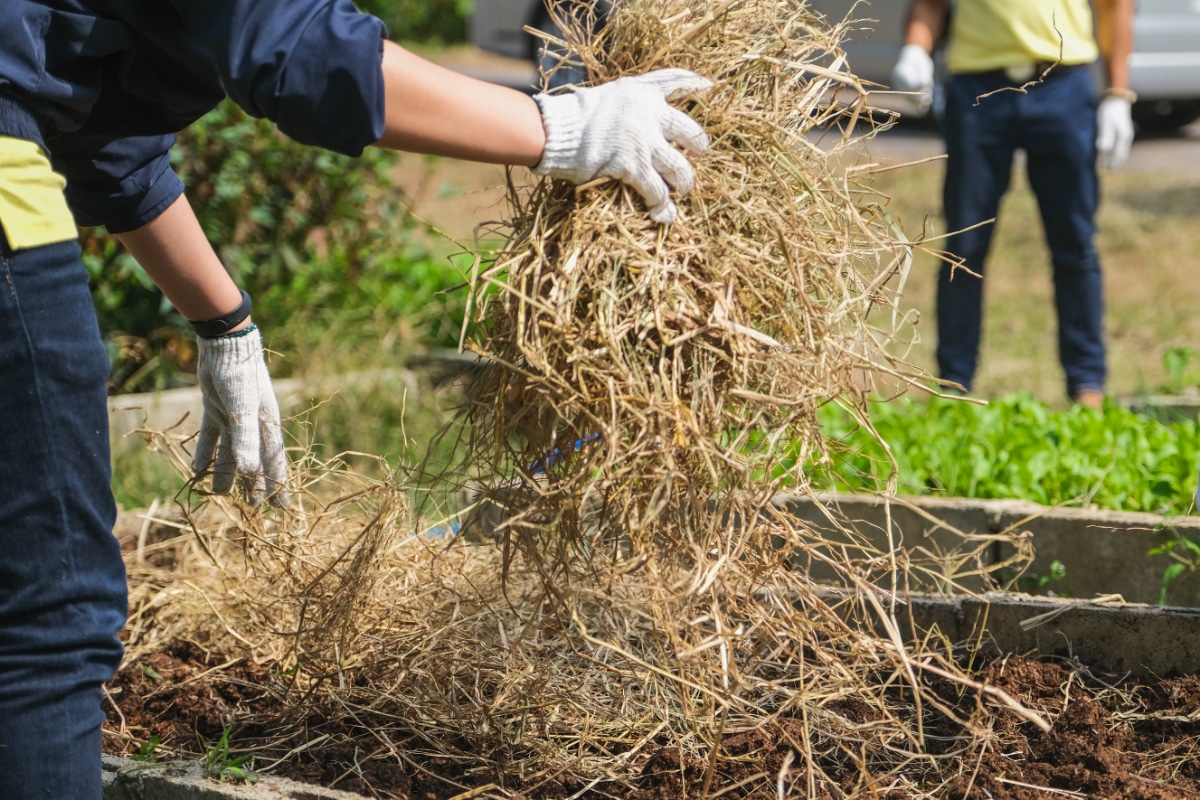
Whether you build your compost bin out of straw bales or not, straw is an excellent material to use as a component in your compost pile.
Straw is considered a "brown" material, or in other words, a carbon source. Brown carbon sources need to be used along with "green" materials like food or grass clippings to build a balanced compost and feed the organisms that break the refuse into rich soil fertilizer.
When used in compost creation straw provides bulk but also helps trap air in the pile. It is very attractive to earthworms, whose presence further enhances the fertility and decomposition of the pile.
When using straw in your compost heap, you should use twice as much straw as green material. It should be broken up into sections of flakes, and those should be shaken out so that they can break down faster (a compressed flake of straw can take a very long time to decompose).
Another way to use straw in your compost pile is as a "cover" of sorts. Cut the strings to open the bale and layer whole sections (often called "flakes") of the straw over the top of the pile in a layer several inches thick. This will help to insulate the pile and increase its temperature, while also holding in valuable moisture. After use, you can either turn this straw into the pile or remove it and use it for mulching or another use in the garden.
Straw for Soil Amendment
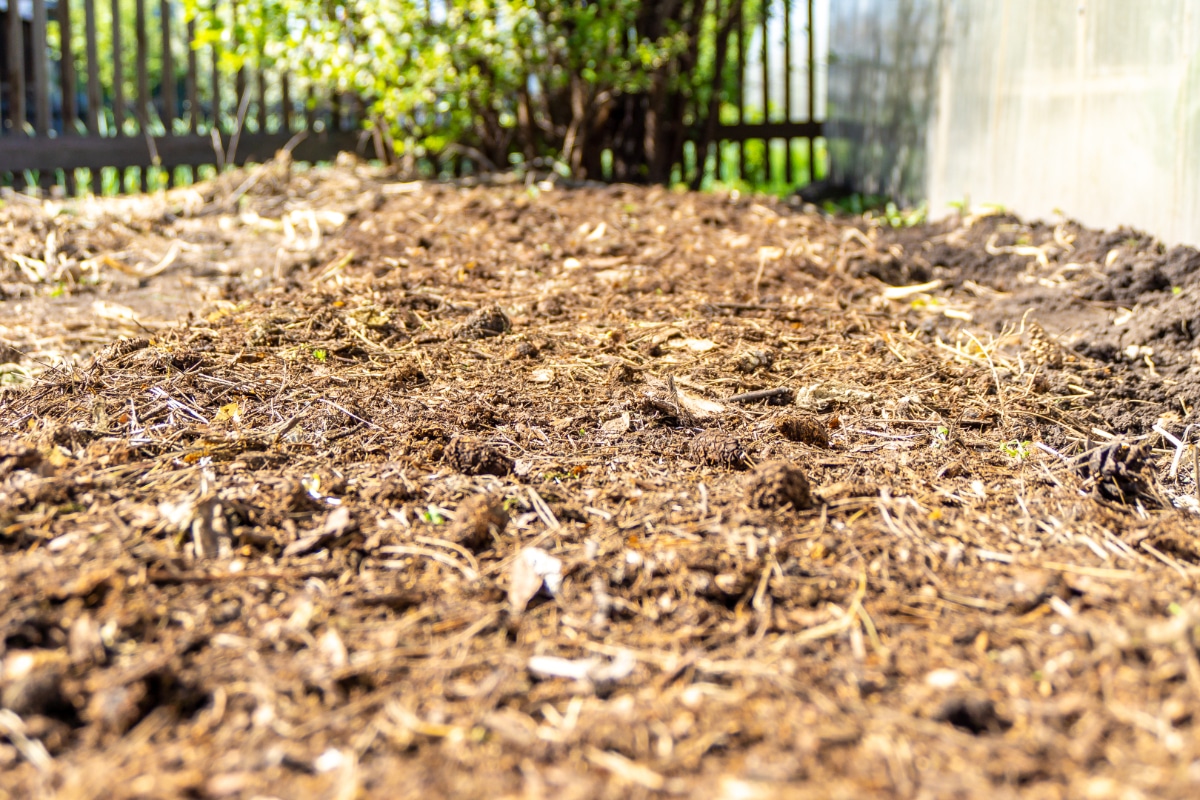
Straw can be worked directly into the soil as a soil amendment. Used this way, it adds bulk and organic matter to help improve poor, dense soils and clay soils, and sandy soils in need of more organic matter.
Straw is not a significant source of nutrients, but the bulk and organics that it brings can do a lot for poor soils, either of the hard-packed or sandy variety. It should be looked to as a source to improve soil structure more than soil fertility (though over the long term it may result in slightly improved nitrogen levels and improvements due to earthworm activity).
Straw is absorptive and increases the ability of the soil to hold water. It also improves soil porosity, permeability, and drainage ability. It creates airspace, which is essential for root health and nutrient uptake.
Straw also attracts earthworms which are highly beneficial to the garden and often much-needed in inferior soils. Having the improved soil quality resulting from its decomposition also allows the worms to move and work more effectively. The castings left behind by the earthworms are further nutritional support and soil enhancement.
While it is true that fresh straw worked into the soil can temporarily lock up some of the nitrogen in the soil and make it less available to plants, this effect is only temporary. The nitrogen is only "borrowed" for a short time as the straw begins to break down. It is not lost or destroyed. Rather, it is being used by the beneficial microorganisms that break down carbon elements in soil and in turn, turn the carbonic elements into useful soil elements.
By the time the straw has reached its half-life of decomposition (a matter of a few months), the nitrogen will start returning to the soil in increasing levels and will be available to the plants once again. Within a year, the decomposition of the straw will be almost complete, and there will be no appreciable tie-up of nitrogen at all. Therefore, time is a solution to nitrogen unavailability. If you need to correct a lack of available nitrogen before it returns to the soil, you can also apply a nitrogen fertilizer for the plants to use in the meantime.
On the other hand, you can use this nitrogen tie-up to your advantage. For example, if you have soil that is too rich in nitrogen, which can result in large plant growth with limited fruiting or production, amending your soil with straw can help temporarily lock up some of the excess nitrogen. For this purpose, work loose straw into the soil. Do not just leave it sitting on top, because then nitrogen will only be taken from the very surface of the soil, and only in limited amounts (probably not enough to help "steal" the excess nitrogen from the depths of the soil, which is where larger plants are accessing it).
Using Straw for Mulch
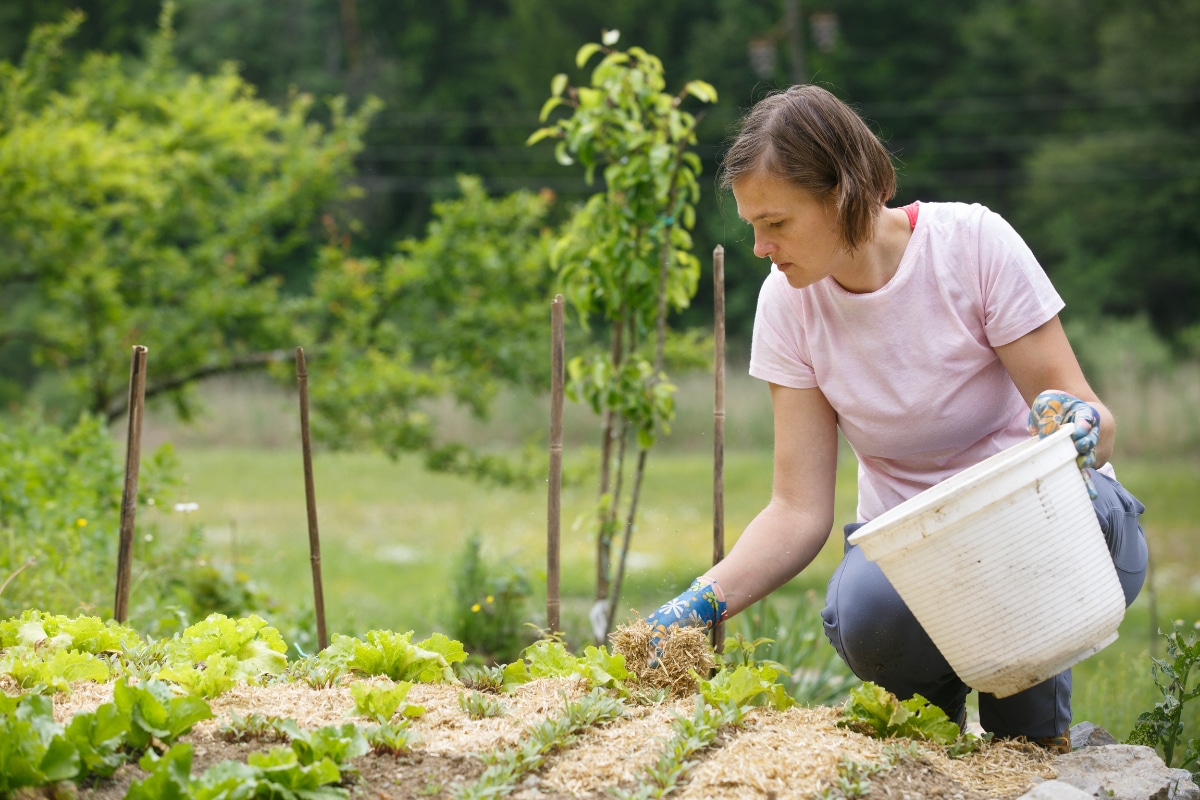
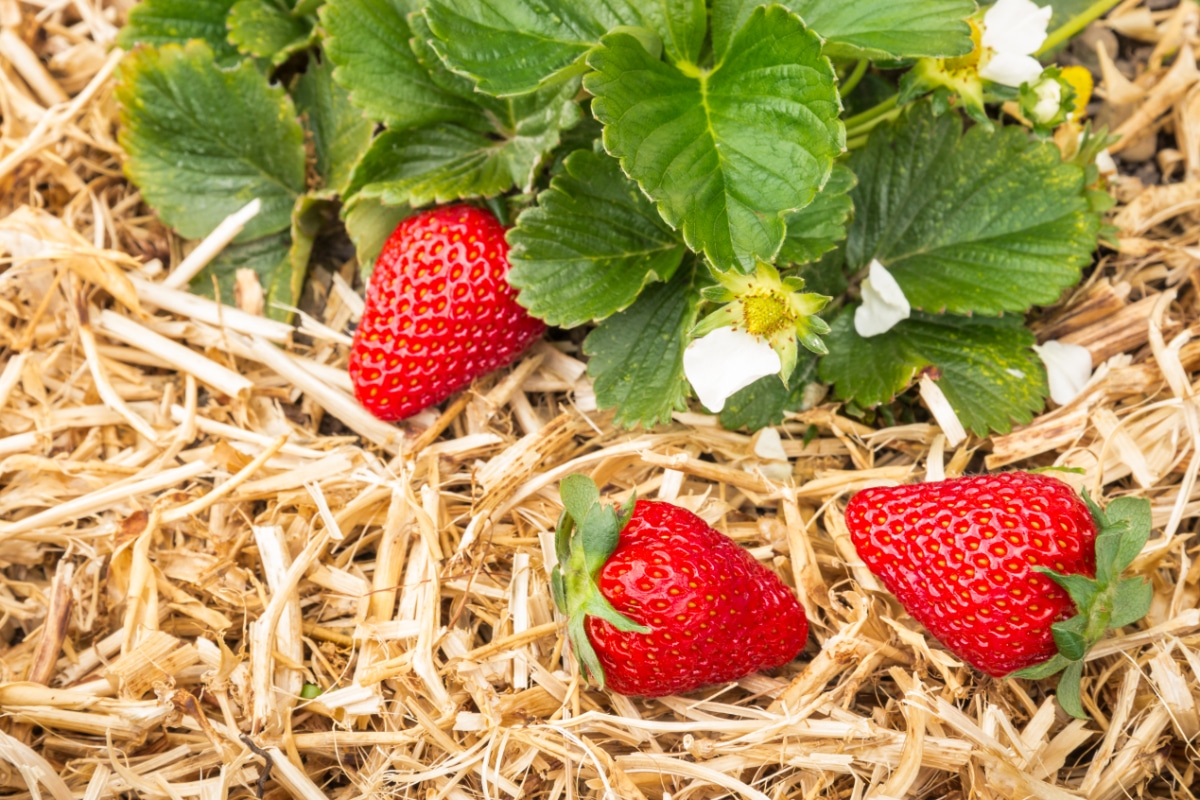
Mulching with straw bales is probably one of the most well-known uses of straw in the garden. It is a great way to suppress weeds around your garden plants, which will keep them from having to compete for nutrients and water. Straw can also be used to mulch the empty spaces between garden rows. Since water can flow down through it, your entire garden surface could potentially be mulched with straw without having to worry about moisture accessibility.
Straw mulch lends the added benefit of reducing evaporation and retaining moisture, an important part of drought defense, reducing watering and irrigation needs, and also keeping soil temperatures moderated—warmer in cold months and cooler during hot summer months.
To mulch with straw, break open the bale and shake the sections to loosen and fluff the straw. For best results for weed suppression, lay a barrier layer of five sheets of newspaper, a single thickness of cardboard, or another permeable weed barrier (optional but recommended). Spread three to four inches of loosened straw over the surface or barrier. You may choose to use a thicker layer of straw—five or six inches—if you do not want to use a separate barrier layer.
The thicker your straw layer, the longer it will last and the less likely you are to need to top it up before the season's send. A well-applied mulch layer should last the whole season long.
The nitrogen tie-up that straw is sometimes known for is not an issue when it is used as mulch. Any nitrogen utilization would occur only at the soil's surface. It does not occur deep in the soil where the plant's roots are trying to access nitrogen. This works in your favor because it means that nitrogen is denied to small weed sprouts at the surface, which further aids in weed suppression.
Straw Garden Paths and Walkways
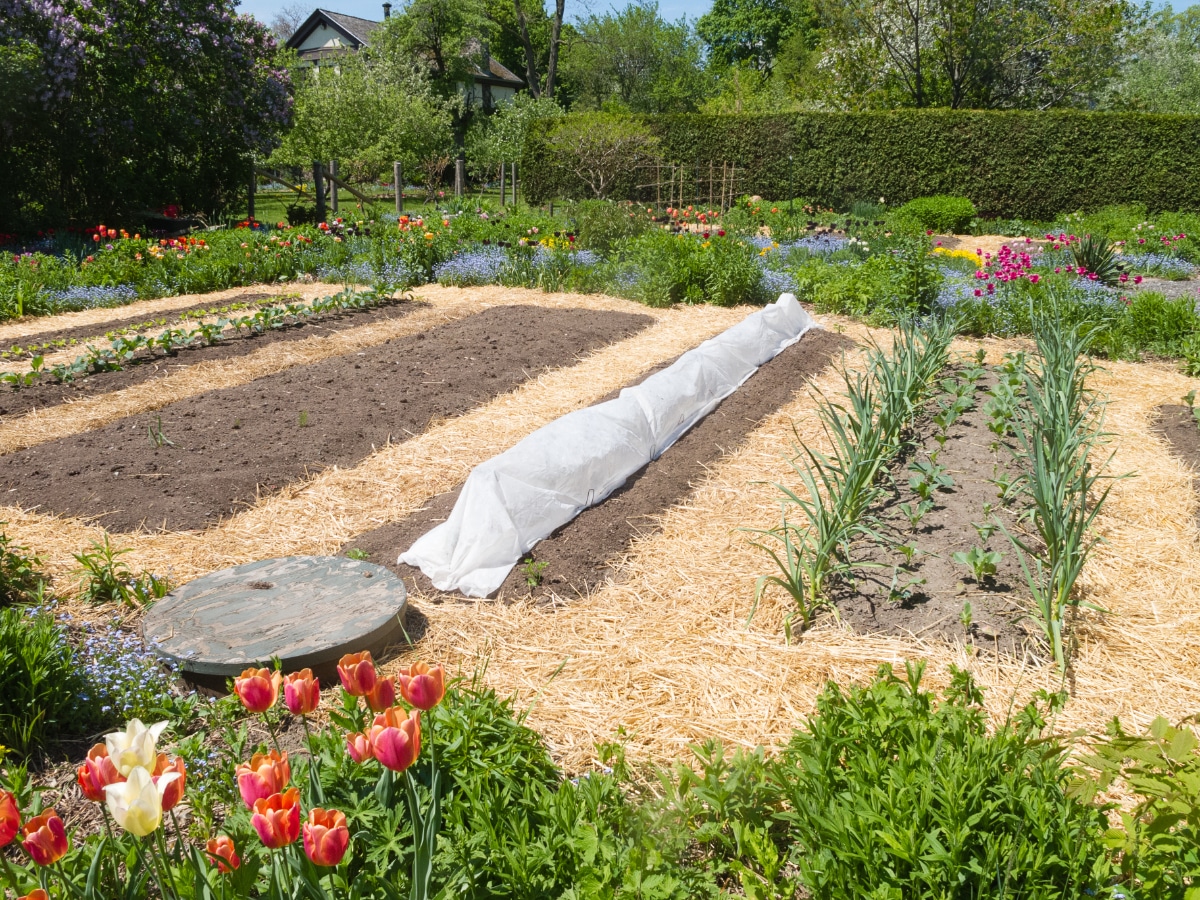
Similar to mulch around plants and garden aisles, straw makes a cheap and effective lining to create or maintain garden walks and pathways. It has the benefit of being affordable, biodegradable, and less permanent than heavy bricks, stones, or pavers. It is also easy to refresh. When used in the garden or for paths nearby to plants, it helps to retain soil moisture while also allowing water through to irrigate plants whose roots may run close to or under your straw aisles.
To make a garden path using straw, simply shake out sections of the bale in a thick layer along the surface of the pathway. The straw should be laid three to four inches thick. Use more than you think you need because the straw will compact as it settles and with use. If conditions are breezy on the day of application, it is a good idea to water the straw. This will help to settle it and compact it and will also give it weight so that it does not blow away before it settles in.
Tilling or digging out existing grass or vegetation before laying your straw path is smart. This will keep grasses from growing up through the straw but is not absolutely necessary (especially if the patch is already down to bare dirt). If a few errant patches of grass or weeds come up through the straw, try spraying it with a vinegar weed killer solution or sprinkling it with baking soda to kill the weeds in the pathway. One other option is to line the pathway with newspaper or cardboard first, wet the paper, and then cover it with a layer of straw.
Each year, re-line your pathway with a fresh layer of straw. You do not need to remove the old straw before applying new straw.
Straw Bale Gardening
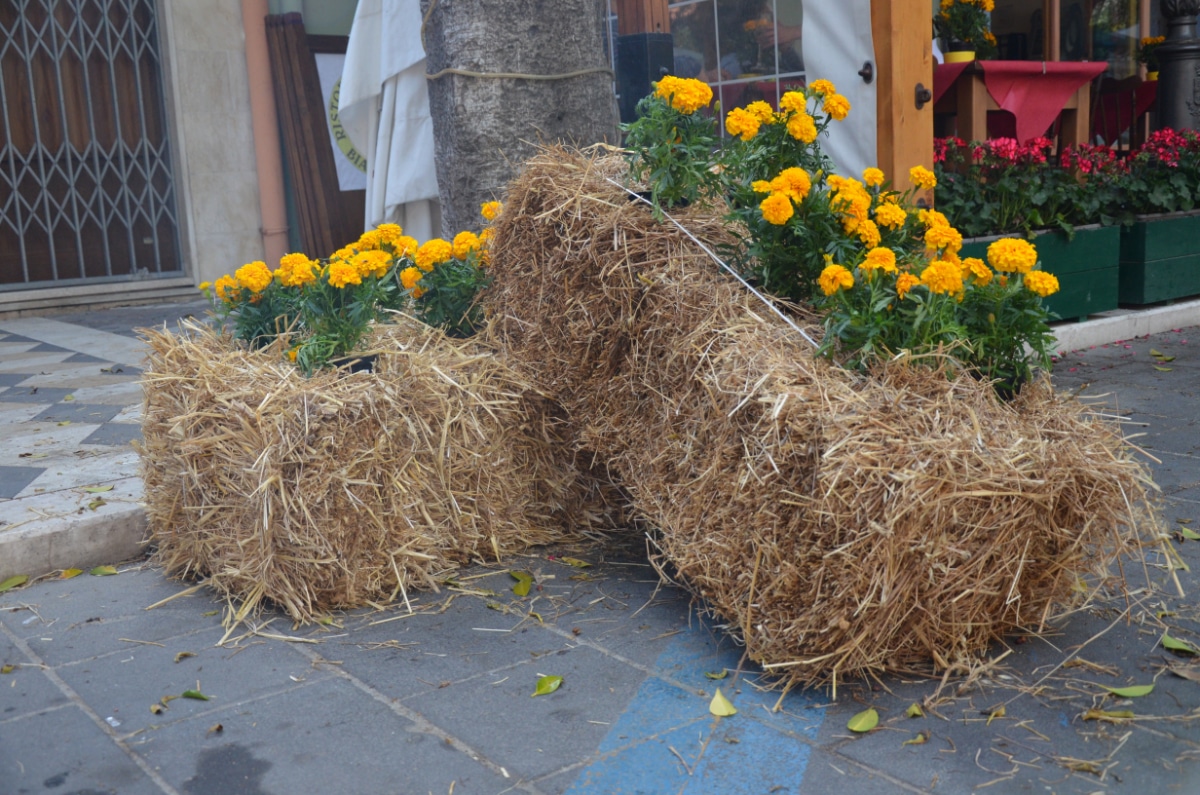
Straw bale gardening, not unlike hay bale gardening, is a good solution to garden space problems. It is also a way to grow a garden with less labor and weeding. Straw bale gardening is basically the same as hay bale gardening, but the seed-free straw will not grow grass and weeds as readily as hay bales.
On its most basic level, straw bale gardening means using the bale of straw as your all-in-one growing container and growing medium (soil). Benefits include portability, ease of maintenance, size (bales being large enough to grow even large plants like broccoli and tomatoes), reasonable moisture control, and ease of disposal (at the end of the season the bales can be composted or used as soil amendment).
Proponents of the straw bale gardening method say there is almost nothing they would not try to grow in a straw bale, though very tall plants such as corn might prove trickier. That said, even typically direct-seeded crops like lettuce, beets, and carrots can be grown in a straw bale.
As for the method, there are differing camps—likely as many different ways to grow a garden in a straw bale as there are straw bale gardeners.
One method involves a two- to four-week process of letting the bale begin to break down and also feeding it up to prepare for plant growth. One-half cup of nitrogen should be "fed" to the bale every other day for one week along with a dose of standard fertilizer. These should be watered in when fed and the bale should be watered on the alternating days for about 30 seconds each, or until the water starts to run out the bottom of the bale.
During week two the nitrogen and fertilizer should be reduced to a half application and the process repeated. After this, wait one day, apply one cup of a 10-10-10 fertilizer, and water deeply. Then water daily for the next four days. It is okay to plant at any time following the four days of watering and stabilizing, but be sure the bale is adequately moist at the time of planting and regularly after. Check daily.
For a simpler straw bale planting method, turn the bale on its side, cut-side up, water it, and let the bale sit out for a couple of weeks until it begins to decompose. Make a hole in the bale the size needed for planting your transplants (twice the size of the pot or larger—do not remove the soil from the plant). Fill the hole with soil and then plant as usual. Water the transplant in well and maintain good moisture.
For direct-sowing in your straw bale garden, top the bale with a layer of three or more inches of soil, then sow the seed as you normally would. Water well and take care to maintain soil moisture, especially through germination and sprouting. The soil top of the straw bale can dry out very quickly, even more quickly than plants planted into the bale.
While the second method is certainly much easier, the decomposition of the bale, coupled with a lack of pre-feeding of nitrogen and fertilizer, may result in yellowed plants in need of nitrogen. If you find this to be the case, feed a diluted fertilizer along with a plant-ready nitrogen source such as blood meal.
Do not let the bales and/or soil dry out completely at any point in the growing process.
An average straw bale has about a 40-gallon capacity when measured in terms of typical growing containers. This is enough capacity to grow up to two tomatoes per bale, two eggplants, or two to three peppers. For other crops, use the size and demands of these vegetable plants as a guide.
Use Straw to Improve Seed Germination
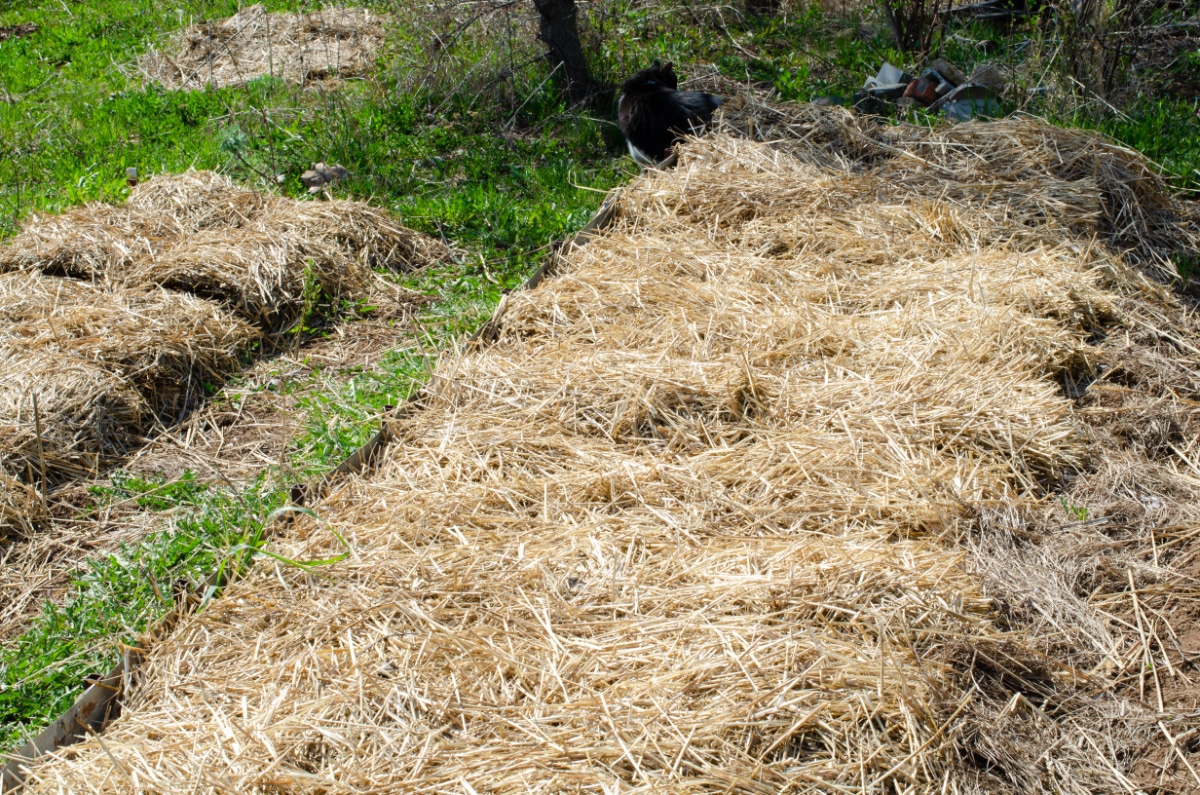
If you struggle to get certain seeds to germinate when direct-seeding in the garden, a layer of straw covering can help.
When seeds fail to germinate in the ground, more often than not the cause is inconsistent moisture. (A second factor is cool soil at the top where the seeds are lying in wait; a layer of insulating straw can help maintain temperatures more consistently, too.) Moisture fluctuation is very often the case with carrot and beet seeds. These seeds do not bounce back well if they dry out at any time between planting and sprouting. An age-old trick is to briefly cover the row after it is seeded with a barrier that will keep the moisture in the soil so that the seeds do not dry out. Many people use a board for this purpose, which works great, but is rather unforgiving if you forget to check the row every day and remove the board once half or more of the seed is sprouted.
Straw is a bit more forgiving of distraction and busy schedules because the carrot tops will eventually make their way up through a layer of straw, as long as it is not so thick that it becomes smothering. To use straw to help direct-sown seeds germinate, you have two options.
The first option is to lay the straw very thickly, placing full sections of straw from the bale side-by-side over the row. When you cut the strings on a bale of straw they will fall into flakes about four inches thick. You can use these sections at this full thickness for the germination period and then remove it or spread it to mulch the row after the carrot or beets tops are well established. This will preserve the most moisture and, in most gardens, will maintain enough moisture until the seeds have germinated. It is very similar to the board trick, but the straw will need to be removed or it will smother the sprouts at this thickness.
The second option is to shake out the flakes of straw and spread them thinly—no more than an inch thick. This, too, will help retain water in the soil and help keep swollen seeds moist as they germinate, but will not be so thick as to smother the seeds if you fail to remove it in time. If you do want to use straw to mulch and suppress weeds in your carrot or beet row, you can add more straw to a thickness of three or four inches after the plant top is up over this height. Do not crowd the plants too closely; leave a bit of breathing space so as not to smother your plants.
This method works very well for germinating carrot and beet seeds, but can certainly be applied to many other types of direct-sown seeds as well. Any straw that you do choose to remove completely can be reused elsewhere in the garden after your seeds are germinated, or can be shaken out and laid as mulch along the row.
Using Straw for No-Till Gardening
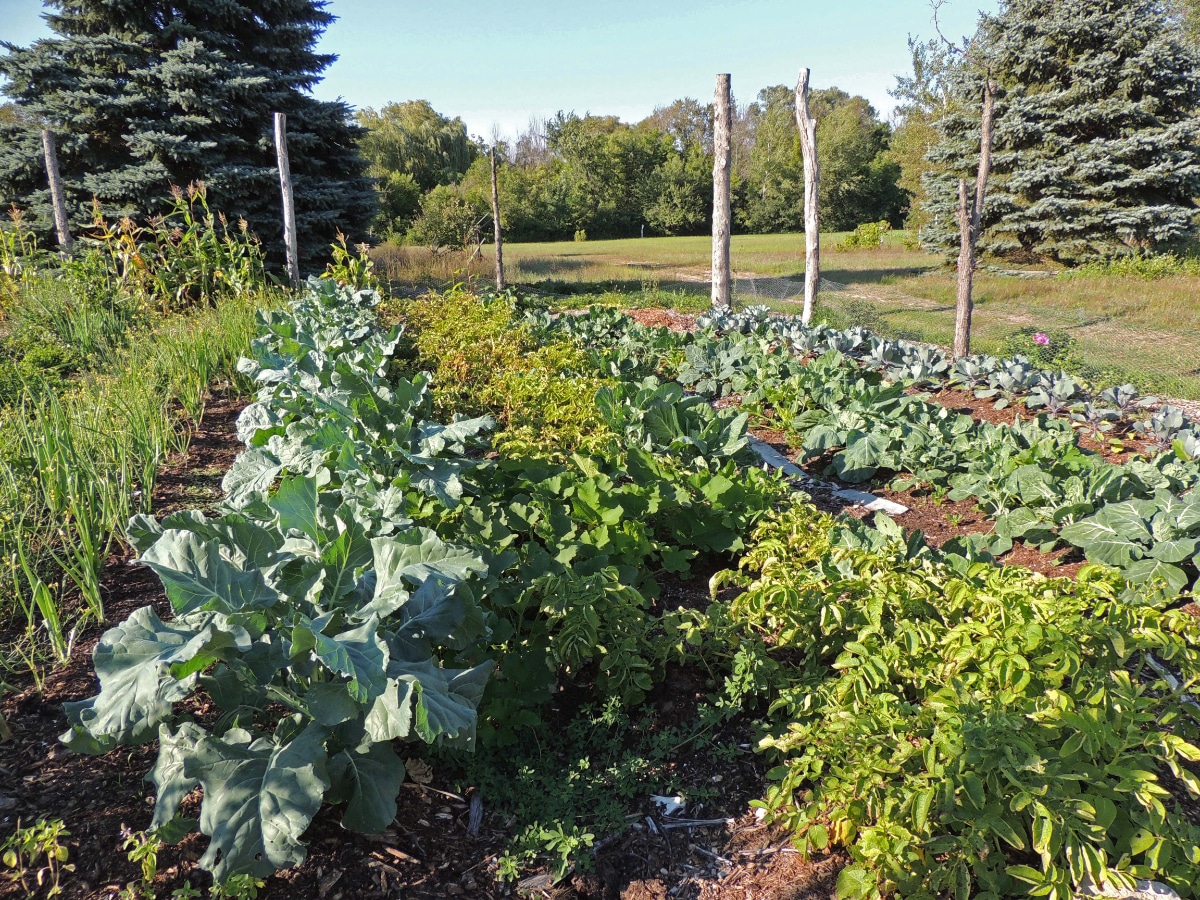
Straw is perfect for any type of no-till gardening. There are several forms of no-till gardening and they go by different names, such as the "lasagna" gardening method, raised row gardening, Hugelkultur, and sheet composting. They are all very similar, with the foundation being that you no longer rototill or otherwise break up your ground every year.
Instead, you build your garden from the ground up by sandwiching layers of compost and straw that compost down to replenish the soil while acting as mulch and weed suppressant at the same time. Weeds are further suppressed because the seed that is embedded deep down in the ground is not being turned up to a level where it can sprout and live. In this way, the act of not tilling is in itself a weed control method.
One example of lasagna-style no-till gardening with straw is as follows:
-Start with a layer of mixed compost and straw, about a 50/50 mix. The layer should be four to six inches deep.
-Spread a four-inch layer of topsoil on top of the mix.
-Plant into the topsoil.
-Mulch the tops of the planted rows and the walkways between rows with straw.
-At the end of the season, cut all remaining plant stalks level with the soil. Leave the roots to decompose in the soil; do not pull them. Discard the cut plant tops (use them in the compost bin to make more great compost for the next year).
-The next year, repeat the original layers on top of the existing row. There is no need to till or disturb the previous year's row.
This second method is something of a cross between raised-bed gardening and no-till gardening. It creates rows about two-feet tall, sloped down to bare aisles between rows, and requires no frame building as in traditional raised-bed gardens. You can make the area as wide and as long as you like, though the entire surface of the rows should be able to be reached from the sides and ends so that you do not have to walk amongst the bed. You can start this bed directly atop grass or other vegetation (an easy way to start a new garden bed without breaking ground and without worrying over what the soil is like!).
-Lay a thick layer of newspaper (five or more sheets) or a layer of cardboard over the surface of the ground. Water thoroughly.
-Lay a layer of straw several inches thick, then top that with a layer of a "green" compost material (grass clippings, kitchen trimmings and food waste, plant or weed waste—as long as the weeds have not gone to seed). The layer of straw should be two to three times as thick as the layer of green material.
-Repeat the brown and green layering until you have a raised row that is at least three feet high. You may go higher if you wish. A three-foot row will compost and settle down to about two feet high, so plan for the finished bed to be about one-third reduced.
-Water the bed and let it rest for three to four weeks while it begins the process of decomposition. If rain is scarce, water at least once a week. You may plant in your bed from week three or four onward.
-To reuse the bed the following garden season, top it with one or more fresh layers of alternated brown and green materials, as many layers as necessary to achieve the best working height for you.
-Empty rows and walkways between beds can be left as grass and mowed or can be mulched with straw or another favored material.
No-till garden methods are particularly good options for people with poor soil or hard, clay soils. They are also popular for the lighter workload that results from reduced weeding and from not having to till.
Hill Potatoes with Straw
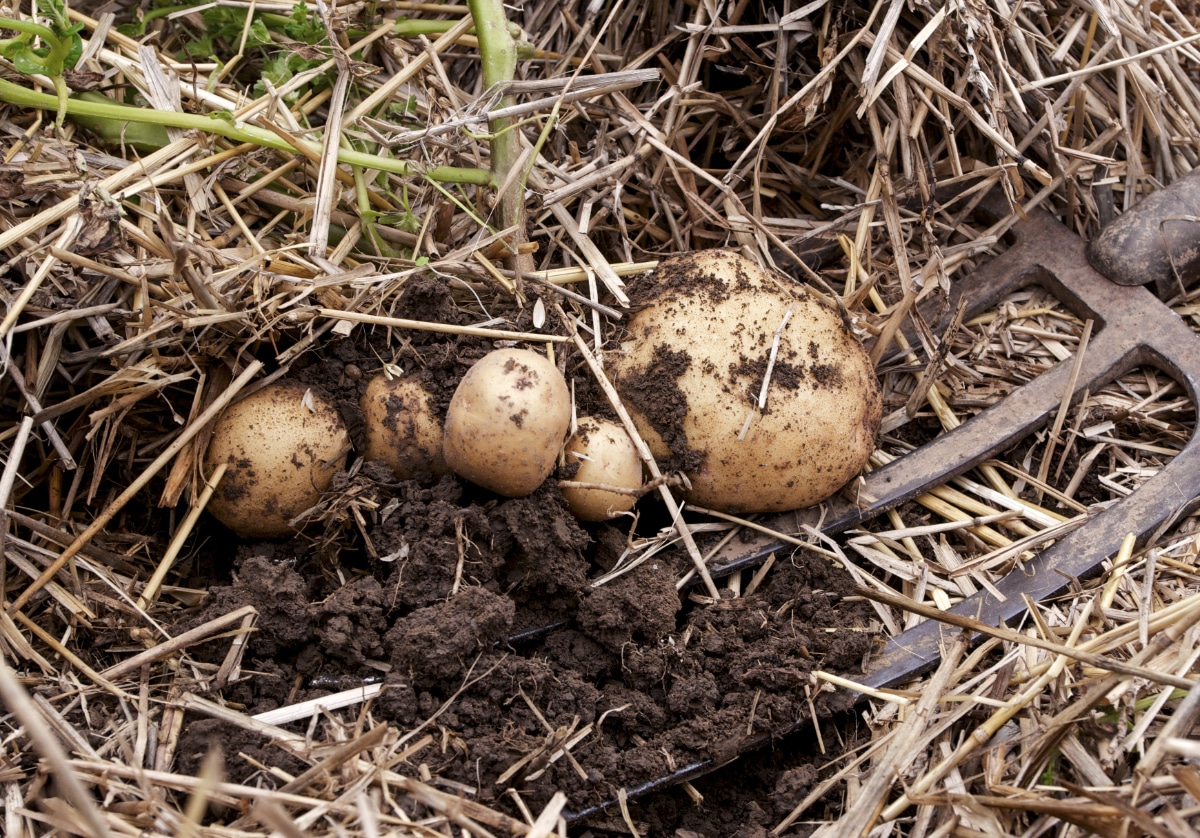
Growing potatoes with straw takes some of the most back-breaking labor out of the process. The result is clean, soil-free potatoes that are easy to dig and suffer little to no damage from forks and shovels.
To hill potatoes using straw, plant the seed potatoes in the ground as you normally would. When the plants have between six and eight inches of growth above the ground, hill them by piling them with loose straw, leaving only the top two or three inches of plant growth—just as you would if you were hilling the potato plants with soil. Repeat the hilling process one or two more times as they grow, dictated by your plants' growth.
Check your potato patch regularly and any time you see exposed potato, even if it is just a tiny patch of skin showing, add enough straw to completely cover it. Potatoes need to be left in the dark or they develop green skins, which are toxic.
"Dig" the potatoes when the plant tops die back and are completely brown. To dig, simply pull away the straw to expose the spuds.
Use Straw to Keep Sweet Peppers Sweet
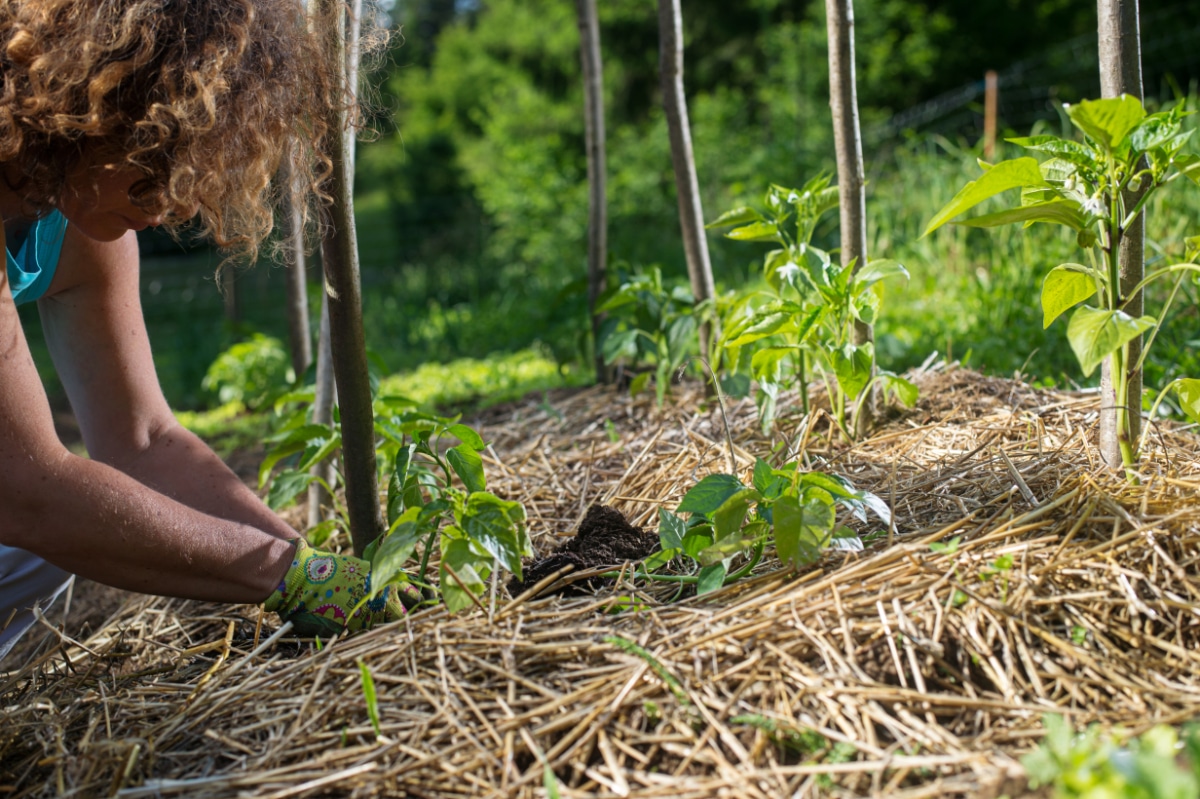
If you've ever grown sweet peppers and they came out hot, soil stress could be to blame.
Mulching the plants with straw can help keep the roots cooler and also help them retain moisture. Hot, dry soil is a common cause of heat in peppers, of both hot and sweet varieties. (This does not, however, mean that you can turn a hot pepper variety sweet by protecting the roots with straw. It does mean that you can potentially reduce the heat effects of hot, dry soil on hot peppers plants to tone them down, and prevent peppers from turning to the hot side when they shouldn't.)
Straw as Plant Protection
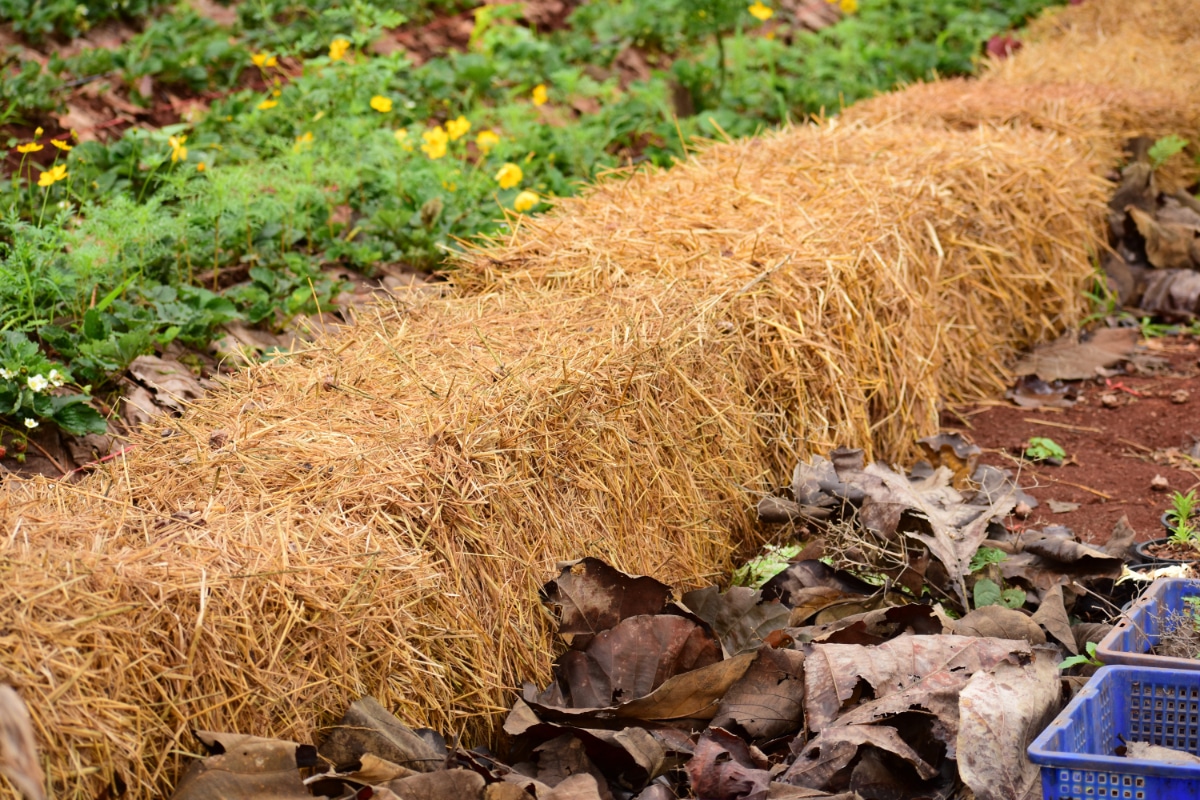
Straw bales make for good portable plant protection from the elements, including wind and sun. It's easy to do—just place intact straw bales accordingly so they cast a shadow and act as a shade for vulnerable plants. This is best done during the hottest part of the day when the sun is strongest. Note the timing and position of hot sun for target plants, and place the bales as needed.
Some good reasons to do so include shading heat-sensitive plants that are quick to bolt in the heat, such as spinach, lettuce, and radishes. This can help you extend your summer growing window for these types of plants. You might also use straw bales to shade young, delicate seedlings that burn in the sun or new transplants in the first few days in the garden.
If conditions will be very windy when transplants are small, you might also choose to strategically place straw bales as a windbreak to keep them from breaking. Using straw bales to protect vulnerable young plants is one way to deal with unexpected bad weather conditions.
Disease Control and Soil Splash
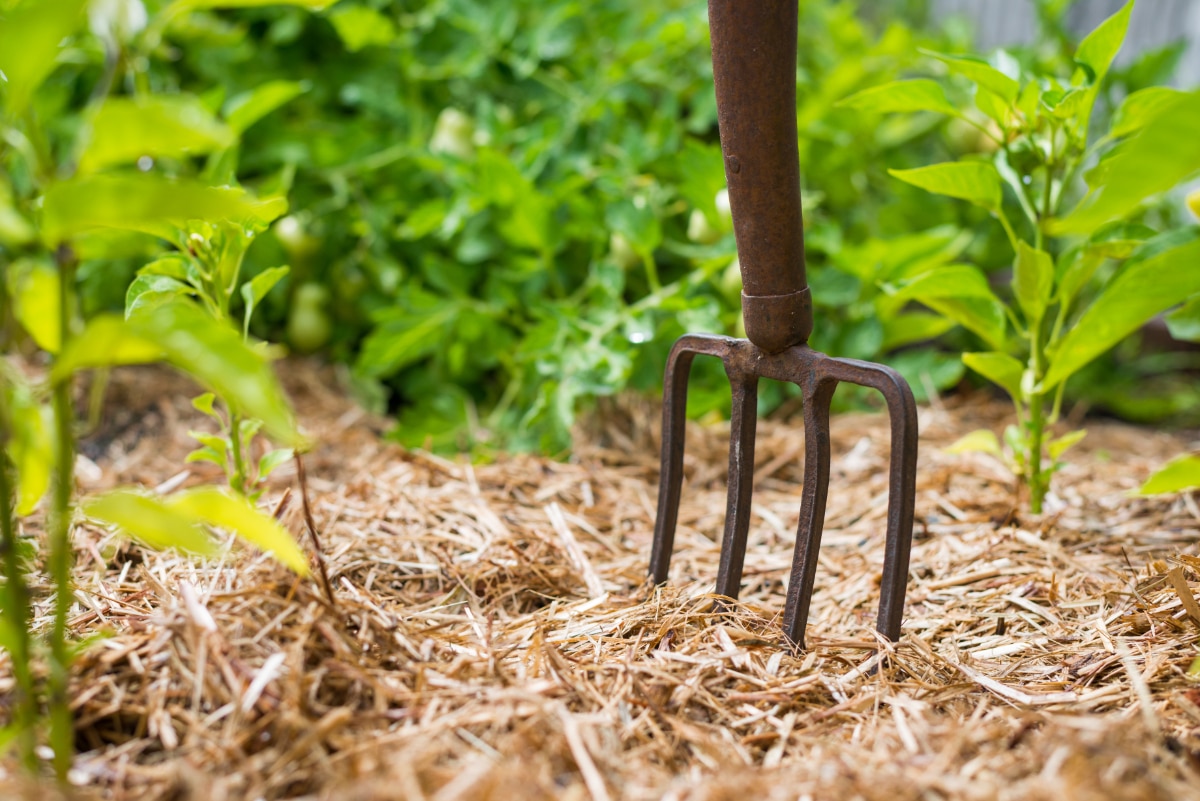
Straw can be an effective tool for combatting soil splash and the resulting disease. This is done through mulching but is worth mentioning because many people don't think about the implications of reducing soil contact by reducing splash-back from rain and water. Blights such as the dreaded tomato blight can be effectively managed if you can reduce or eliminate the pathway for soil-borne pathogens to infect plants. Blight spores live in the soil and travel upwards on plants when soil splashes lower leaves.
Straw mulch can also help manage diseases like blossom end rot. Most people think of this as a calcium deficiency, which is true, but it is more accurately a calcium transfer issue. In other words, if moisture and soil conditions are not well maintained, the calcium that is in the soil, even if it is present in suitable quantities, is not accessible to the plant (roots), and so it is not usable. Consistent moisture levels make calcium available. Inconsistent moisture is a contributor to the disease.
A bedding of clean straw mulch will also help reduce splash and disease for squashes, pumpkins, cucumbers, and vining plants, and will also give you cleaner, less blemished produce.
Cover Crop and Seed Protection
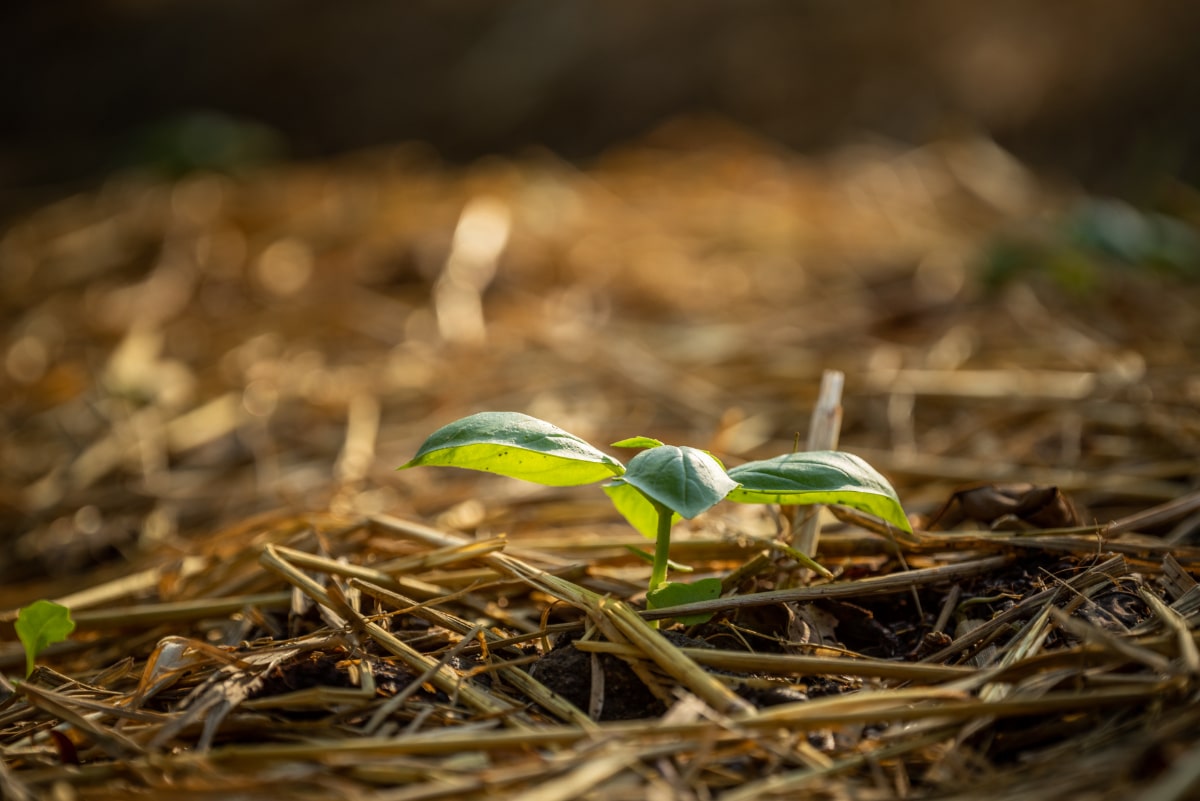
When seeding a new area or planting a cover crop, especially over a large area, straw can help protect the new seeding. Seed the area, then cover it with a light but substantial layer of straw. If you have the means to shred the straw beforehand that is even better, but well-shaken and watered-down straw will work well. The straw will help hide the seed from hungry birds, will provide shade to the seed, sprouts, and young seedlings, and will help retain much-needed moisture.
To counteract nitrogen unavailability that might accompany straw break-down, it is sometimes recommended to feed nitrogen to new seedings around three weeks after sprouting. Another way to deal with this is to leave the bale of straw outside for about a month before use so that the process of decomposition is already started to reduce nitrogen needs.
Straw for Erosion Control
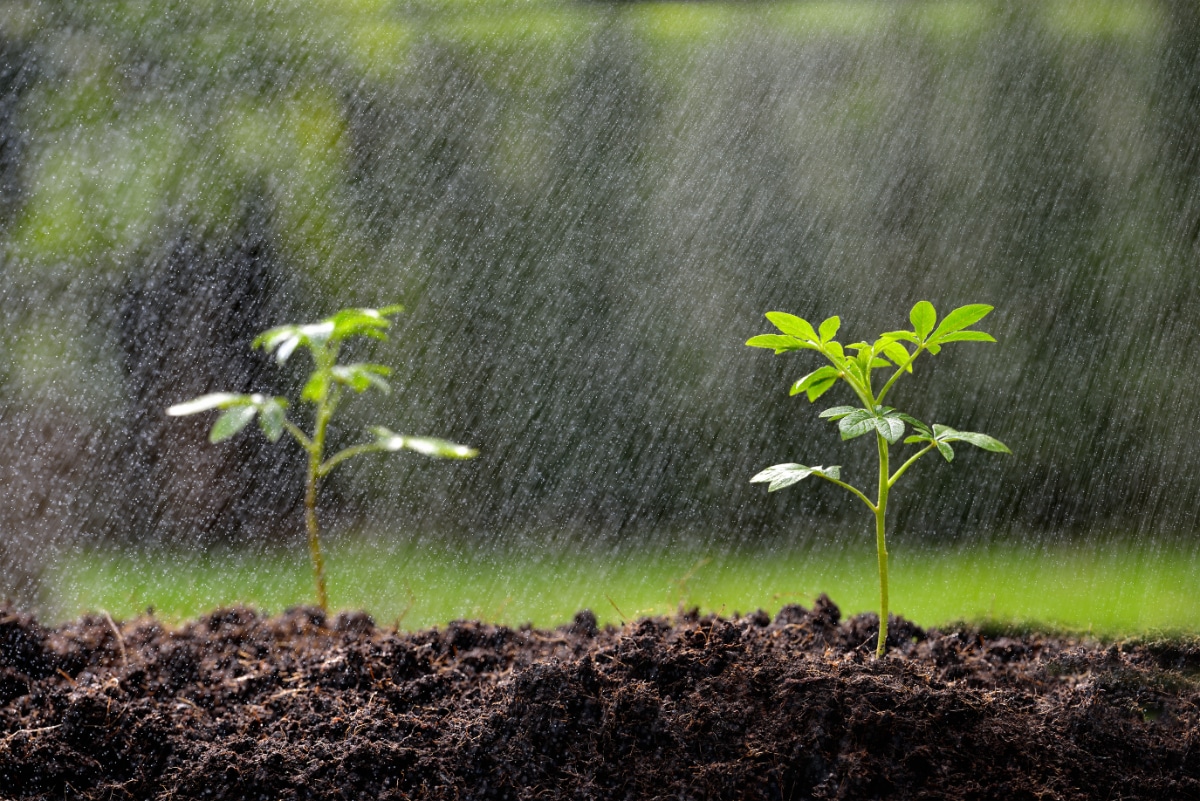
You'll frequently see straw bales on construction sites, where they are used as erosion control and for the protection of waterways. The same can be applied in your garden.
Any time soil is left open and uncovered, whether by a crop or with a protective layer, it is vulnerable to erosion in the form of wind, rain, and runoff.
To protect the open ground, cut straw bales open and spread the straw in a thick layer over the entire area of bare ground. A layer an inch thick should suffice if erosion control is your goal, but feel free to lay it thicker.
To keep your soil from running off your garden space, you can also line the perimeter with whole bales of straw. If you need to keep soil from running into a stream or waterway, line the edge of the stream bed a few feet back with whole, intact straw bales.
Insulate Over-Winter Crops with Straw
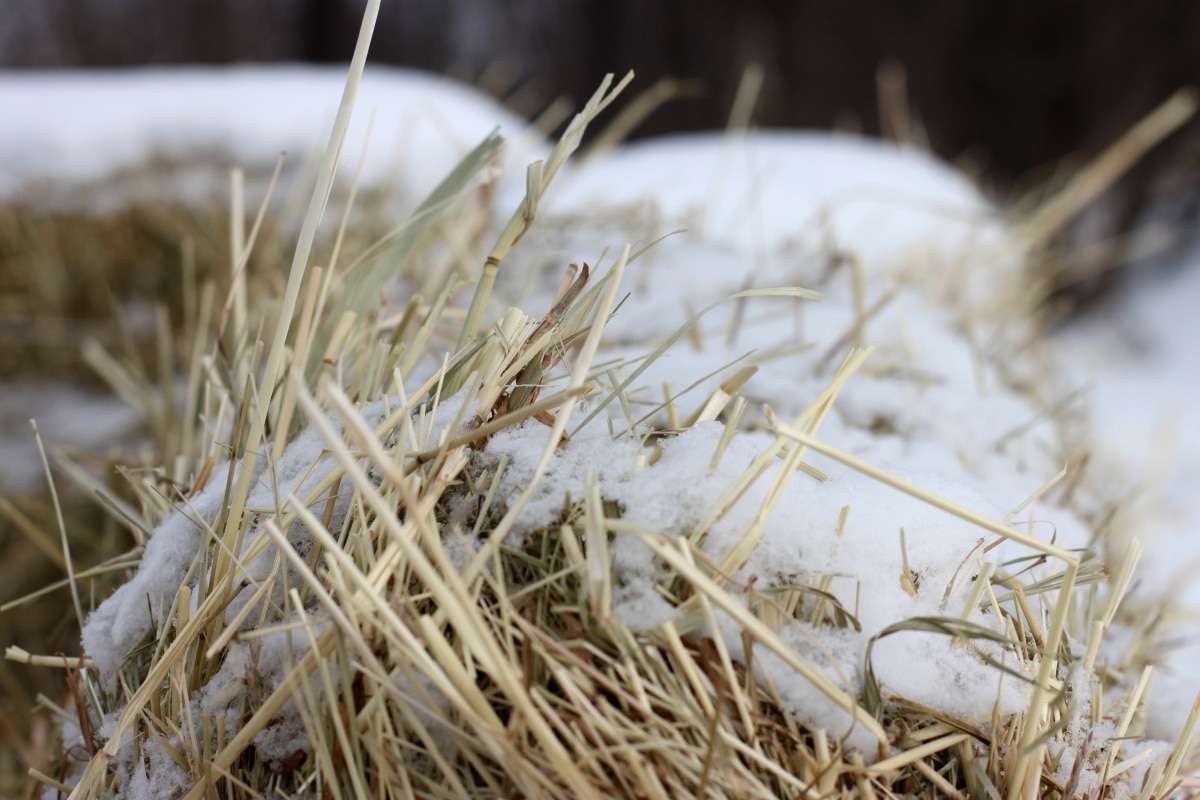
Straw is very good at trapping air and that makes it a very good insulator. It will serve you well as a soil insulator during the hot summer months to keep soil from becoming too hot, but it will also serve you well as a winter insulation layer. Use it anywhere crops, flowers, bushes, or shrubs need protection over the winter. This is especially useful for fall-planted flower bulbs that need to overwinter to bloom in the spring. It is also useful for protecting fall-planted crops of garlic or similar bulbs.
Root crops that remain in the ground can also be protected from freezing or protected for overwintering. Carrots, beets, and potatoes can stay in the ground as the temperature drops, as long as they are dug before the ground actually freezes. The longer you can leave them in the ground, the less exposure to air and elements, and the longer they will keep once harvested. Parsnips, on the other hand, are often left in the ground all winter and harvested in the late winter or very early spring. This sweetens them and improves their flavor. A thick layer of straw will help protect root crops until it is time for them to be pulled. It will also keep the soil around over-wintered produce like parsnips a little warmer and a little easier to work and dig.
When using straw to protect overwintering crops, shake out a thick layer of straw over the entire area to a depth of four or more inches. The straw can be removed and reused elsewhere in the spring, so a thicker layer is fine, too. When the bulbs start to push their green tops through in the spring, pull the straw back a bit to give the plants room to grow without smothering. Otherwise, leave the straw in place to serve as mulch for the row. If necessary, you may top the straw with another mulching layer in the spring if you feel there is not a thick enough layer left to suppress garden weeds.
Store Vegetables and Produce in Straw
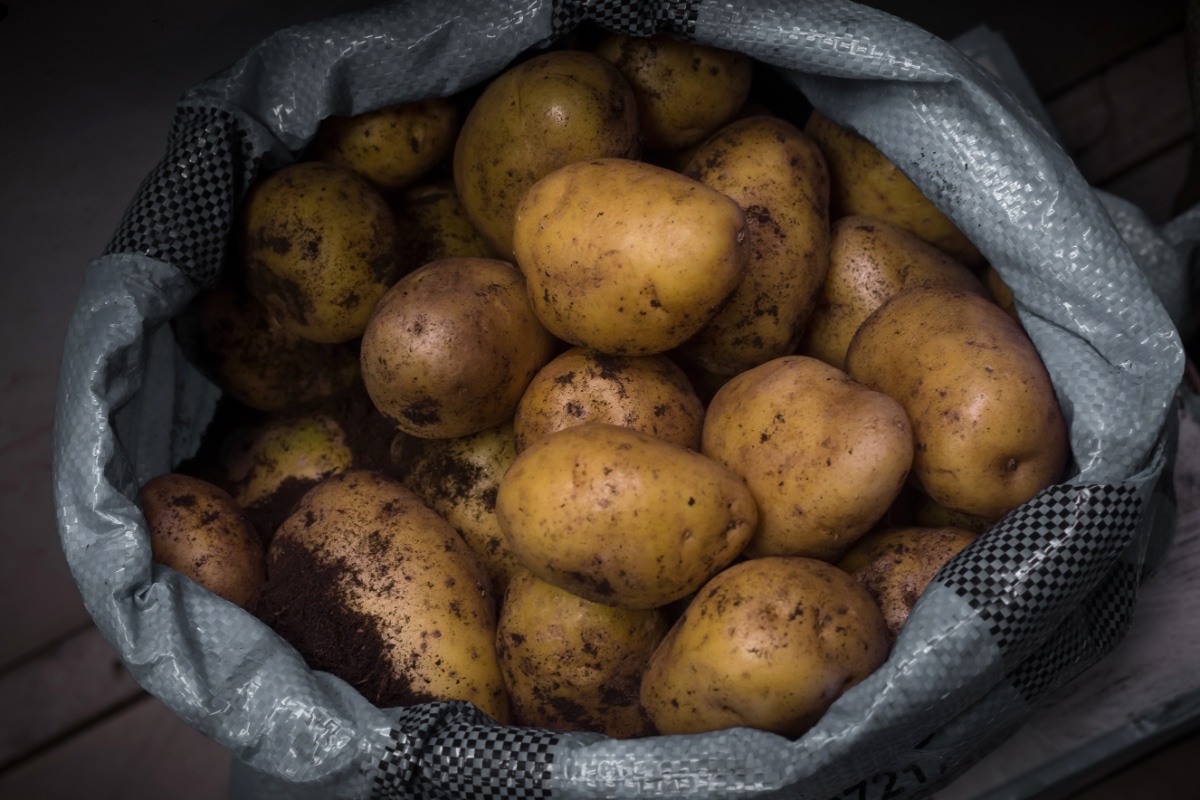
Straw can be used to create insulated outdoor storage mounds and impromptu root "cellars".
One method is to use a galvanized garbage pail as a root cellar in the ground. This should only be done in well-draining areas. Dig down deep enough to sink the pail with only three to four inches left above the surface. Line the bottom of the pail with about an inch of loose straw. Place your storage crop in the barrel. Try to fill the barrel as fully as possible to reduce air space. Place the cover on the pail, and then place a layer of straw on top of the cover. This straw layer should be about one foot thick.
Weight and cover the layer of straw with a small area rug or rug remnant or a layer of plastic. You can use both plastic and carpeting for added water protection, but place the carpet last so that it adds weight to the straw and plastic covering. The covering should also slope so that water runs off the top (snow is okay to leave on the top—it will provide an added layer of insulation). Taper the soil surrounding the buried barrel to create a drainage ditch for runoff.
Another option is to create an above-ground storage mound, usually in the garden but you may choose to build it closer to your house where it will be more accessible. The buried garbage pail method is preferable, but if water becomes an issue over the winter months, an above-ground mound that keeps vegetables high and dry may be the better choice.
To make a storage mound, lay a thick layer of straw on the ground, then pile up to a bushel of the crop on top of the straw. Cover the crop with another thick layer of straw, and then bury the entire mound in a thick layer of soil. Do note that when you open the mound to remove your vegetables, you need to remove all of the produce in the mound and take it inside to store and use it. For this reason (and for reasons of warmth and insulation), for a large harvest, you are better off creating several bushel-sized mounds than to try and create one very large storage unit.
Straw Strings
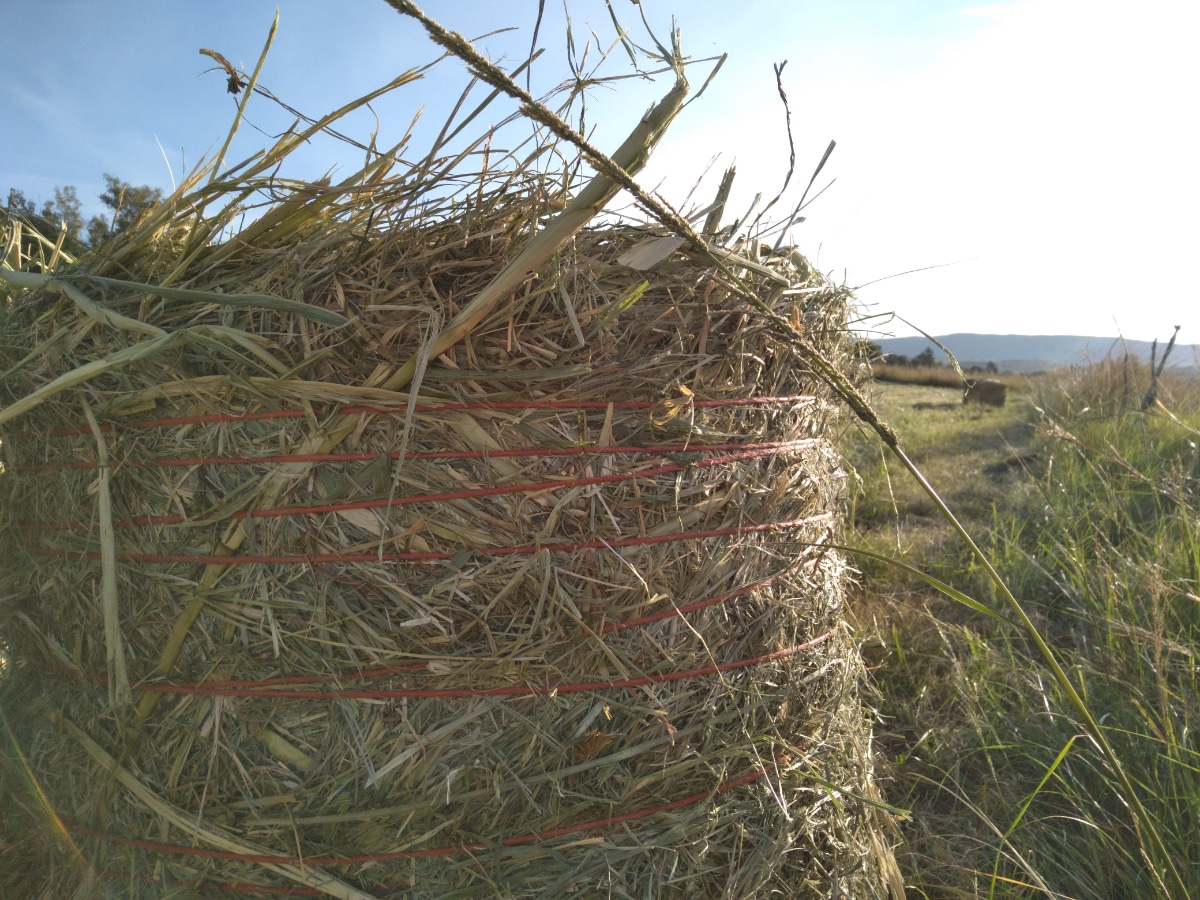
We did say straw was 100% usable, including the strings. The strings or twine on straw bales have many uses in the garden. Save these strings and use them for quick fixes anywhere around the garden.
Straw strings make excellent, long-lasting ties for tomatoes or any other plant or flower that needs staking. Use them to tie tripods and trellises for growing pole beans and climbers. You can even use them to create fencing for peas by stringing several strands from post to post (livestock step-in style fence posts are cheap and easy to install, or you could cut sturdy posts from young trees or saplings).
The potential uses for straw twine are probably endless, so you won't regret keeping stock on hand and at the ready.
Buying Tips and Sourcing Straw
When using straw in the garden, it is important to know if the straw has been sprayed or treated with a long-lasting herbicide. This is particularly true of herbicides in the Pyridine family. Pyridine-based herbicides have a long-lasting residual effect. That residual could work against you in growing and cause your plants to struggle or die along with any weeds you are trying to suppress.
There are two good ways to make sure your straw does not contain a lasting residual herbicide. The first is to simply talk to your supplier. Ask what is sprayed in the straw crop and if the spray is known to have a lasting ill-effect when the straw is used for gardening purposes. This may be difficult if you are sourcing your straw from a large retailer or a garden store that does not have a direct relationship with the grower. The more directly you can source your straw—for example, direct from the farm itself—the easier and more reliable these conversations will be.
If you cannot buy directly from the grower, see what information any labeling might list (if available). Do a quick search for any pesticide, herbicide, or chemical names that are listed. Not all sprays have a lasting residual impact. Straw does not tend to come with a lot of labeling, though, so when in doubt and it is available to you, an organic straw would be your best option—the most likely to do no harm.
If you are not able to buy your straw directly from an area farmer (which is in your best interest from both an informational and cost perspective), your next-best option will be a local farm and livestock feed store, or a home and garden center. Many so-called big-box retailers carry straw bales as well, but you will have a harder time accessing any information regarding the origin of the product.
Don't Forget to Reuse your Straw!
Finally, don't forget to keep reusing your straw until it has fulfilled its useful purpose (in other words, until it is compost or soil in the ground!).
The fact that straw can be used many times over throughout your home and garden cycle means that it is very cost-effective. A single bale of straw could easily start its life as a seasonal decoration or guest seating, then be used to protect tender seedlings as a cold frame, then moved on to garden mulching and tilled in or raked up to act as compost and soil amendment. It's a 100% usable garden product that will continue to improve your garden time and productivity.
More Articles to Help You Get the Most Out of Your Garden
If you're looking for more articles like this one that will show you all the different ways you can use the most versatile tools in the garden check out these:
20 Amazing Uses for Vinegar in the Garden (Plus Recipes)
14+ Uses for Sawdust in the Garden With Tutorials
12 Amazing Ways to Use Baking Soda in the Garden
Is It Safe To Use Straw A Mulch In The Garden
Source: https://gardening.org/19-smart-ways-to-use-straw-in-the-garden/
Posted by: florencesontoort.blogspot.com

0 Response to "Is It Safe To Use Straw A Mulch In The Garden"
Post a Comment